

This super easy gift bag is a snap to put together and could be made for a variety of gifts. I like having these small bags made up and ready to go whenever the need arises. We will be using English Garden DSP and the Watercolor Wings set for this project.


Here's what you'll need:
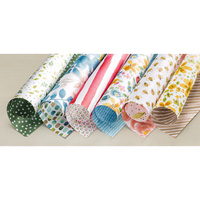
English Garden DSP 6" X 12"
Score in Portrait orientation at 1 1/2" and 4 1/2"
Score in Landscape orientation at 5 1/4" and 6 3/4"
Burnish on all your score lines and trim up the score lines and miter the sides of each tab. Attach some Fast Fuse Adhesive to the small tabs and bring up one side tab. Then place adhesive on the remaining side tabs and bring them up to create your bag. While pushing in the sides, squeeze the bag together. Using a 1/2" Circle Punch, punch a hole through both layers at the top for your ribbon.
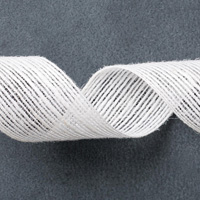
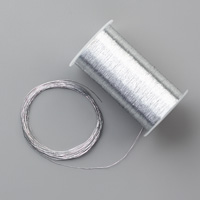
Thread through a piece of Jute Ribbon and tie it with several strands from the new Silver Metallic Thread.
On to the stamping!
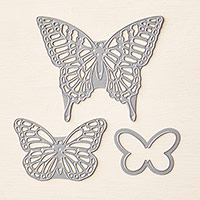
With a scrap piece of Whisper White card stock, ink up the small full image butterfly with Hello Honey ink. Stamp off on some scrap paper, then onto your Whisper White. Now with the next layer stamp, stamp with full strength Hello Honey on top. Ink up the last image with Soft Suede ink and stamp that on top. Don't forget to stamp your little Butterfly Body in Soft Suede.
Use your Butterfly Thinlits to cut out your image.
Stamp your sentiment in Night of Navy ink on a strip of Whisper White card stock measuring 1/2" wide. Use your Banner Punch to pennant one side of your sentiment. Attach this piece to the bottom of a 2 1/2" Circle Punched piece of Night of Navy Card Stock. Attach your die cut butterfly on the Night of Navy circle with a Glue Dot and attach this piece to your bag with Dimensionals.
Add some bling as you wish and your bag is done!
Watch the video below for the visual directions:

Supply List:


No comments:
Post a Comment